
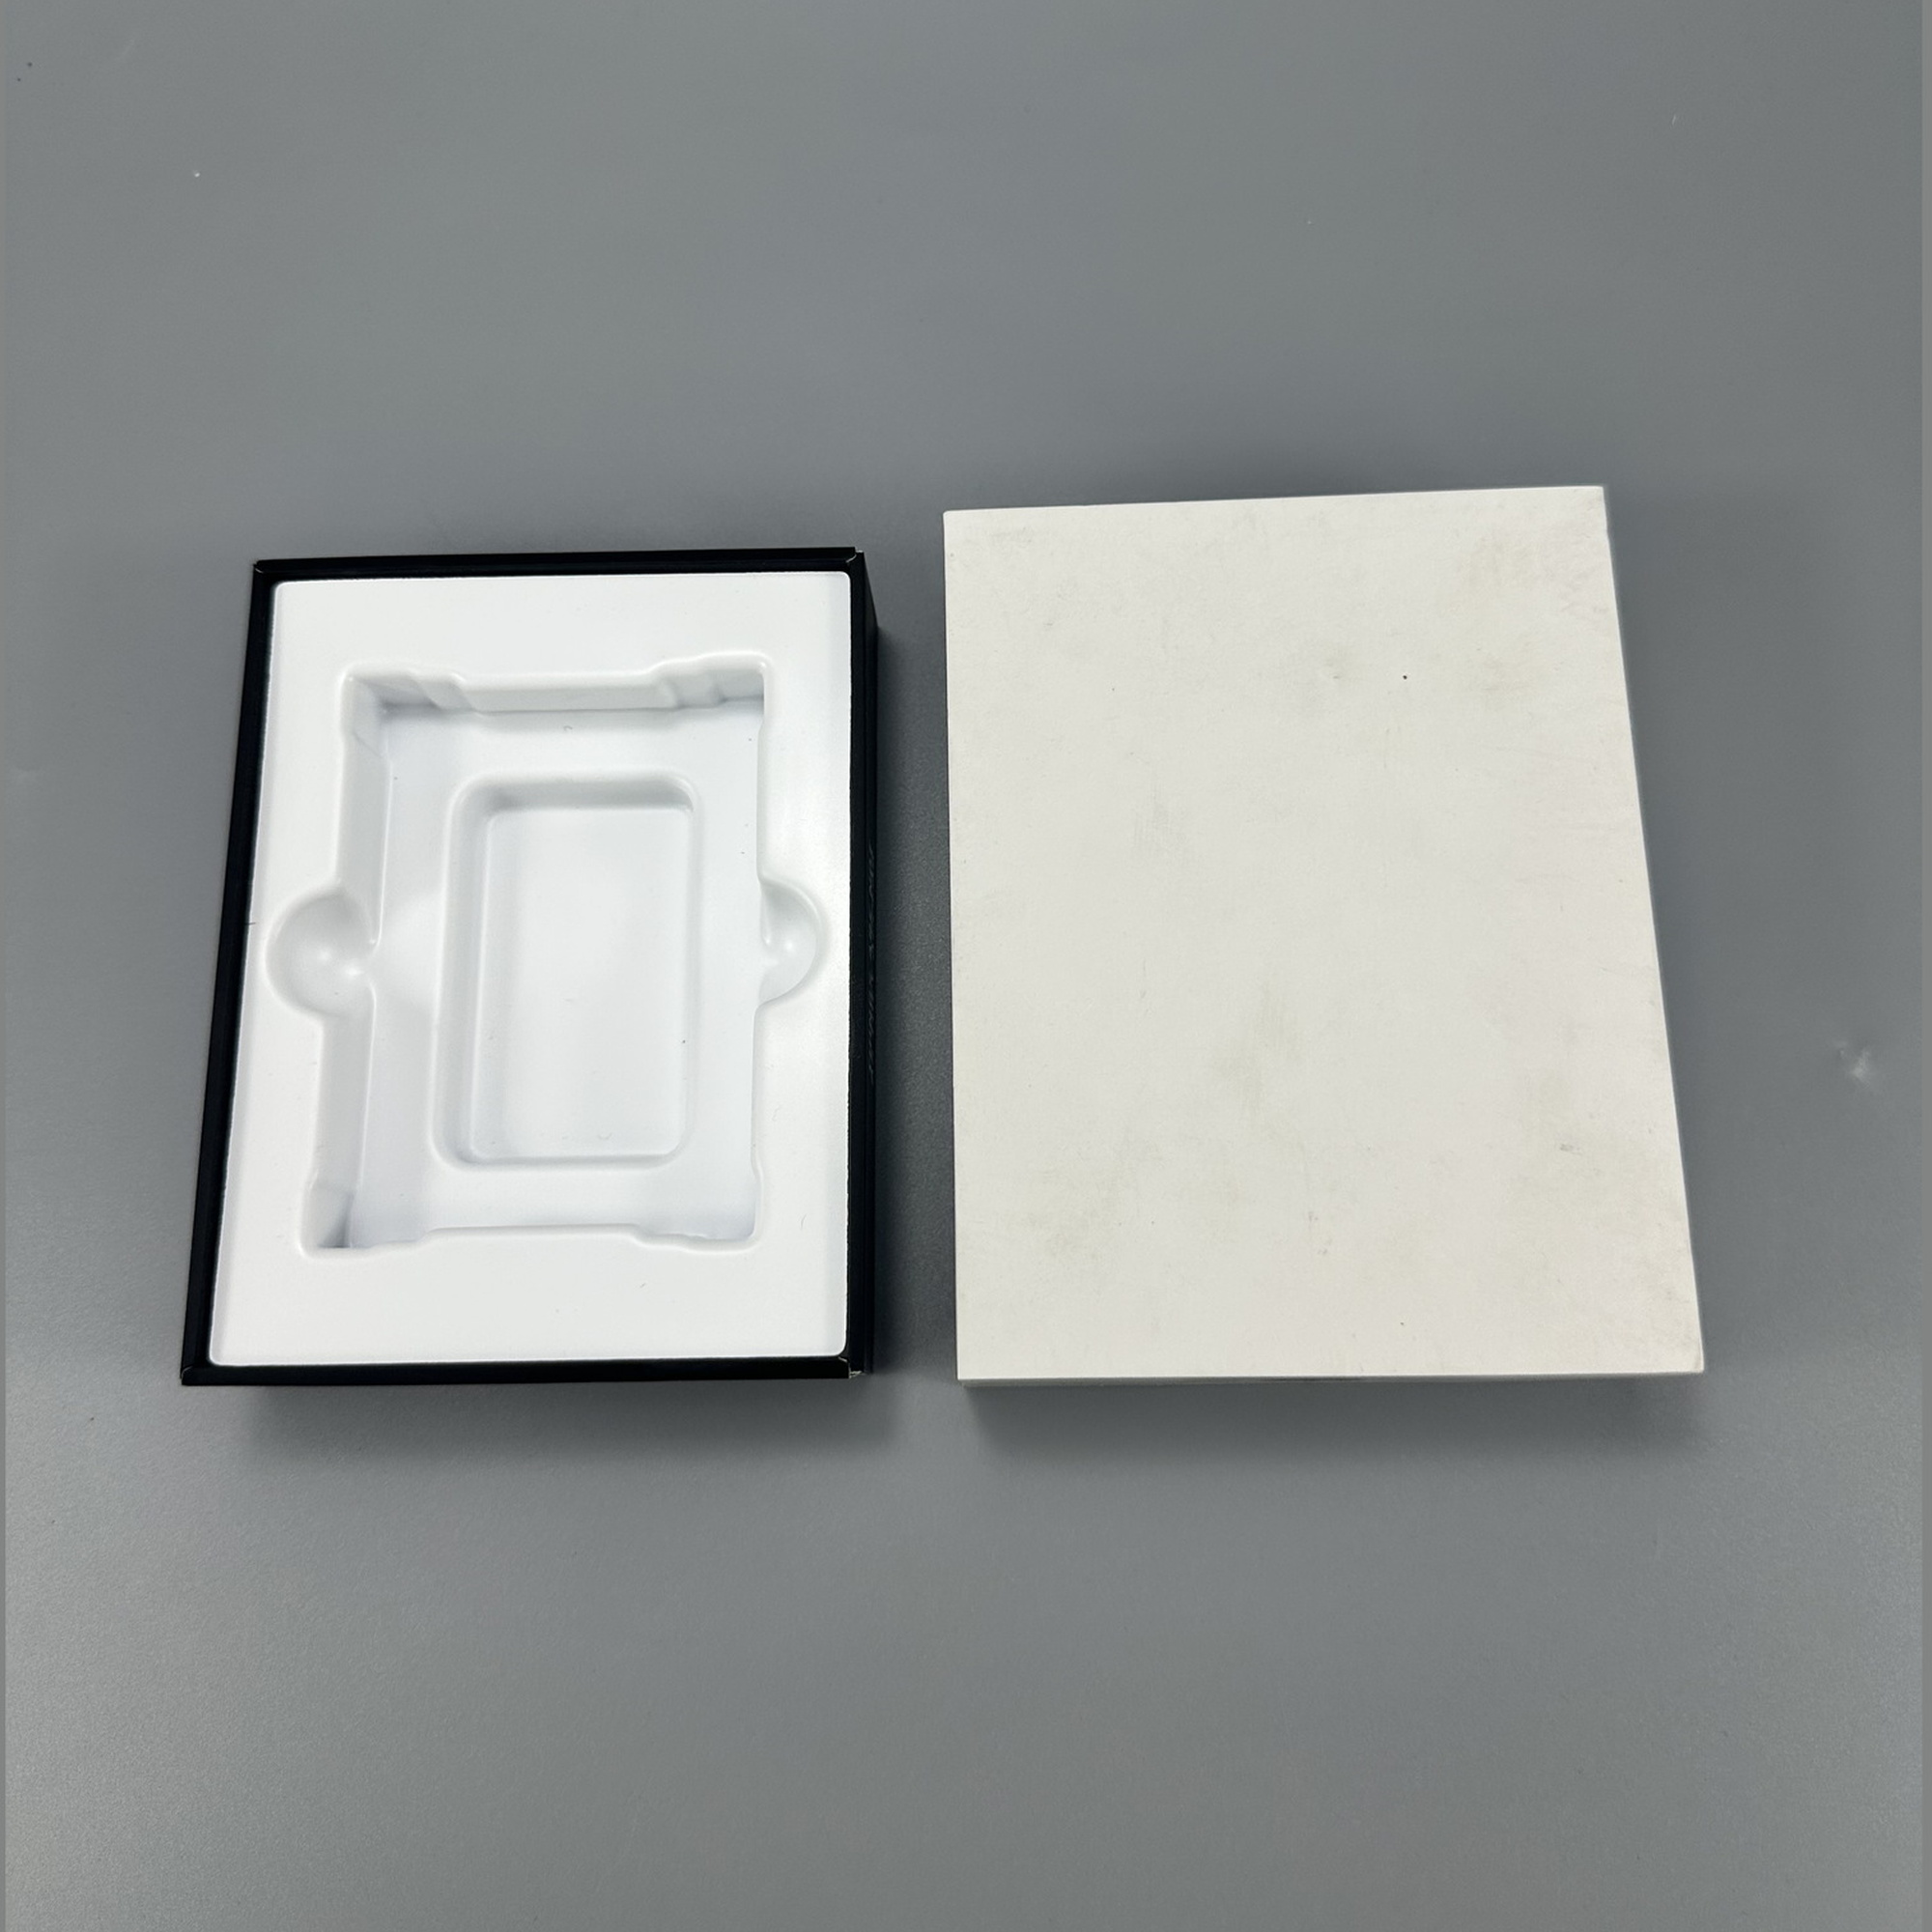
A premium rigid box can make a product feel valuable before the customer even touches it. However, the visible box is only half of the experience. The rigid box insert is the component that positions, protects, and presents the product inside. Accurate product measurement is therefore the foundation of a successful custom rigid box insert.
На сайте Упаковка Bonito, we work from the perspective of a source manufacturer of high-end custom paper packaging. In practical production, the most common packaging problem is not an unattractive box—it is a product that shifts, rattles, sits too high, is difficult to remove, or does not align with the brand’s intended unboxing experience. Precision fitting solves these problems before they reach mass production.
This guide explains how to measure a product for a perfect rigid box insert, compare key insert approaches, manage tolerances, and prepare a professional packaging specification for your manufacturer.
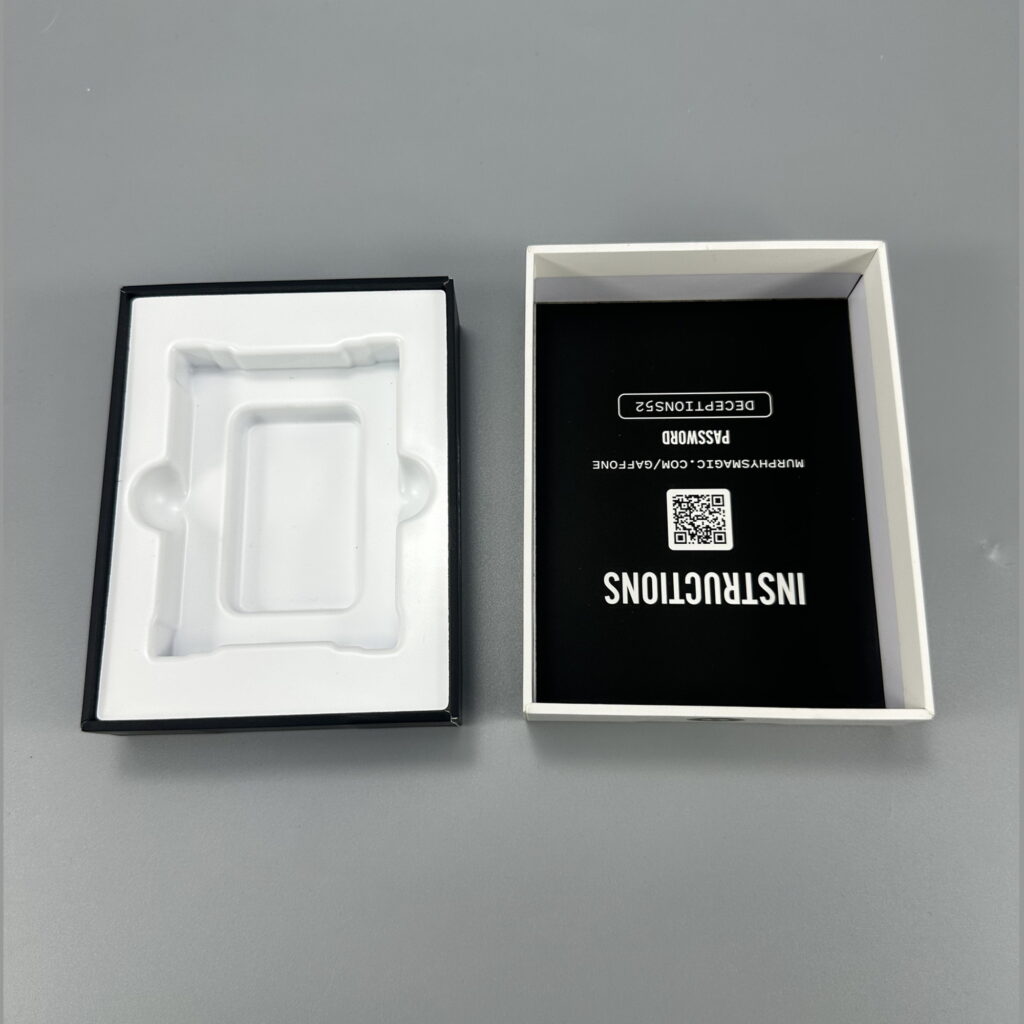
Why Precision Fitting Matters for Rigid Box Inserts
A rigid box insert is not simply a piece of material placed inside a box. It is a functional packaging component designed to control the product’s position, protect vulnerable areas, and create a polished presentation.
For luxury cosmetics, jewelry, electronics, wine, fragrances, gifts, and promotional kits, customers often judge product quality through the opening experience. A loose insert can make an otherwise expensive product appear poorly made. An overly tight insert can frustrate the customer or damage delicate finishes during removal.
A well-designed custom rigid box insert should achieve four goals:
– Secure positioning: The product should remain in its intended location during handling.
– Controlled removal: The customer should be able to remove the product without excessive force.
– Visual balance: The product should sit at an intentional height and alignment.
– Transit protection: The insert should reduce movement that may lead to scratches, scuffs, cracks, or component damage.
Rigid boxes are commonly used for premium products because their thicker board construction provides a stable, non-collapsible format. However, rigid walls alone do not prevent internal movement. The insert is what closes the gap between the outer packaging and the actual product.
For parcel-shipped products, internal packaging should also be considered as part of the complete protective system. Industry testing frameworks such as ISTA 3A and ASTM D4169 evaluate how packaged products respond to shipping hazards such as vibration, drops, impacts, and compression. A rigid box insert may not replace an outer shipping carton, but it can significantly improve product retention and presentation within the primary package.
Product Measurement vs. Insert Measurement
The phrase “measuring your product” sounds simple, but it involves more than recording length, width, and height. Product measurement documents the object as it exists. Insert measurement translates those dimensions into a manufacturable cavity with appropriate clearance, depth, access, and material allowances.
The two concepts are related but not identical.
| Measurement Area | Product Measurement | Rigid Box Insert Measurement | Почему это важно |
|---|---|---|---|
| Length | Actual longest horizontal dimension | Cavity length plus controlled clearance | Prevents compression or side-to-side movement |
| Width | Actual widest horizontal dimension | Cavity width plus controlled clearance | Supports stable lateral positioning |
| Height | Full product height, including cap or closure | Cavity depth and product reveal height | Controls removal and visual presentation |
| Irregular shapes | Curves, shoulders, handles, protrusions | Custom contour or multi-level cavity | Prevents rocking and pressure points |
| Fragile zones | Glass corners, pumps, screens, metal edges | Relief areas, cushioning, or structural support | Reduces risk of cosmetic or functional damage |
| User access | Areas suitable for gripping | Finger notch, pull ribbon, or lift tab | Improves the unboxing experience |
The goal is not to make the insert cavity exactly equal to the product size. Exact-size cavities can create friction, difficult removal, and dimensional failures when materials change slightly with humidity, die-cutting, lamination, or assembly.
Instead, packaging engineers create a functional fit. This means enough space for smooth insertion and removal, but not so much that the product moves during ordinary handling.
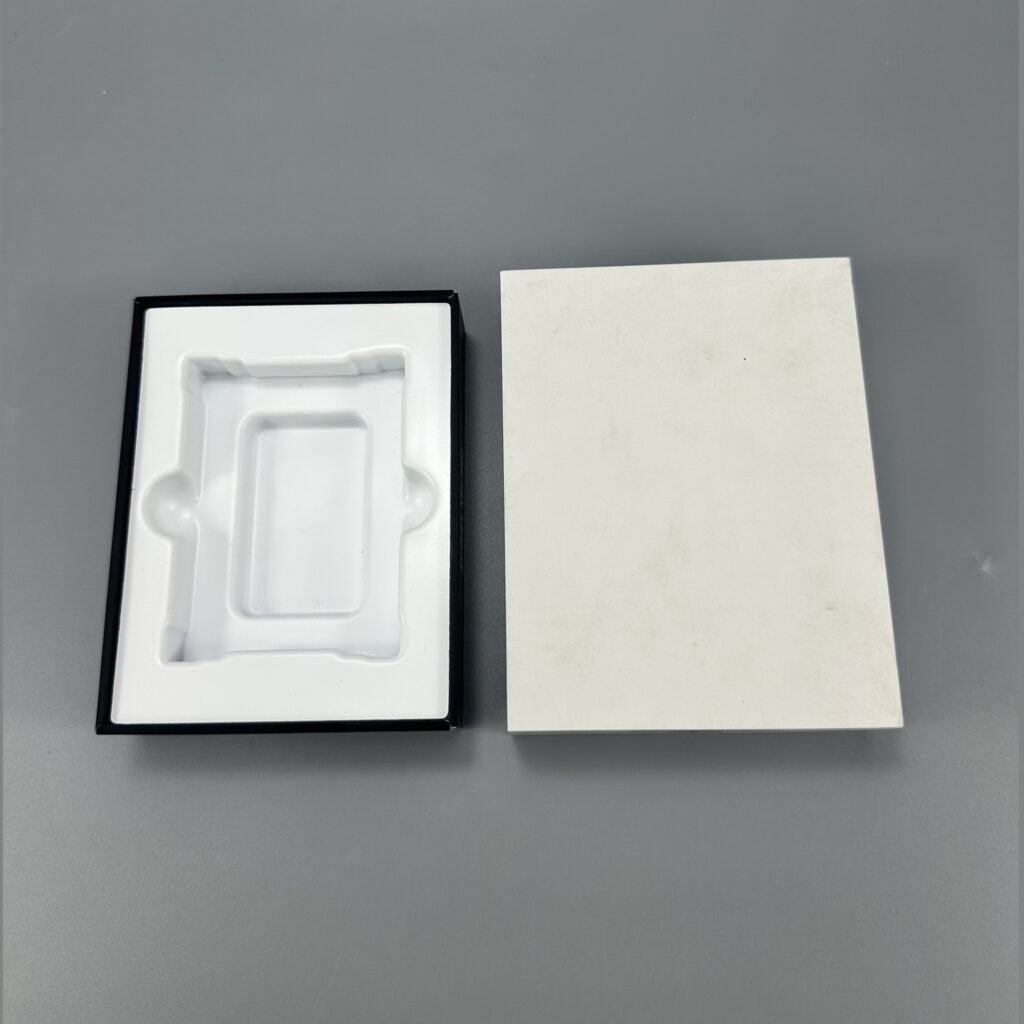
The Three Dimensions You Must Measure First
Start with the product’s maximum outside dimensions:
1. Overall length: Measure the longest point from end to end.
2. Overall width: Measure the widest point from side to side.
3. Overall height: Measure from the lowest contact point to the highest point, including caps, lids, pumps, buttons, or decorative components.
Always measure the actual production product, not only a CAD rendering, online specification sheet, or early prototype. A bottle may differ from a drawing because of cap changes. A device may have raised buttons. A jewelry item may change shape after it is placed in a pouch. These differences can affect insert fit.
Use a digital caliper where possible. For larger products, use a steel ruler or measuring tape, but verify critical dimensions with a caliper. Record all measurements in millimeters, as millimeters provide the level of precision normally required for custom rigid packaging production.
How to Measure a Product for a Custom Rigid Box Insert
The best measurement process follows a repeatable sequence. This helps your design team, procurement team, and rigid box manufacturer work from the same reference points.
Step 1: Measure the Product at Its Widest Points
Do not assume the body of the product determines the final insert size. The widest point may be a cap, a pump, a cable connector, a handle, a corner protector, or an attached accessory.
For example, a cylindrical cosmetic bottle may have a 40 mm body diameter but a 46 mm cap diameter. If the insert supports the cap area, the cavity must account for the larger dimension. If the insert supports the bottle body instead, the cap may require a separate relief space.
Record:
– Maximum length
– Maximum width
– Maximum height
– Base dimensions
– Top or cap dimensions
– Diameter for round products
– Diagonal dimensions for square or angled products
– Height of raised features
Step 2: Identify Contact Points and “No-Pressure” Zones
Not every section of a product should touch the insert. Some surfaces are strong and stable. Others are decorative, fragile, or easily scratched.
Например:
– A glass perfume bottle may be safely supported at the base and shoulder.
– A cosmetic pump should not be compressed by an insert.
– A phone or electronic device may need clearance around buttons and screen edges.
– A watch may require a shaped cushion instead of a flat cavity.
– A wine bottle insert should hold the body securely while avoiding excessive pressure on the neck.
This is where packaging experience matters. A cavity that looks correct in a flat drawing may place pressure on exactly the wrong part of a product.
Expert recommendation: Mark contact zones directly on product photos or technical drawings before requesting an insert quotation. This gives the manufacturer a clearer basis for material and structural recommendations.
Step 3: Choose the Product Orientation
A product can be displayed flat, upright, angled, layered, or recessed. Each orientation changes the dimensions of the required rigid box and insert.
Ask these questions:
– Should the product face up when the customer opens the box?
– Should the logo be immediately visible?
– Does the product need to stand vertically?
– Is the product heavy enough to require a deeper cavity?
– Will accessories sit beside, below, or above the main item?
– Does the product need a booklet, card, ribbon, pouch, or tool compartment?
A perfume bottle lying horizontally may use less box height. The same bottle displayed upright may create a more dramatic reveal but require a taller rigid box. Neither option is universally better. The right decision depends on brand positioning, shipping requirements, product weight, and the desired customer experience.
Step 4: Add Functional Clearance, Not Random Extra Space
Clearance is the gap between the product and the cavity wall. It is essential, but it must be controlled.
Too little clearance may cause:
– Difficult insertion during packing
– Product scratching
– Excessive friction
– Insert deformation
– Damage to labels or decorative finishes
– Inconsistent fit between production batches
Too much clearance may cause:
– Product movement
– Noise during handling
– Poor shelf presentation
– Edge damage during transport
– A lower perceived value
The correct allowance depends on product material, insert material, cavity style, and the packaging process. A soft EVA foam insert behaves differently from a rigid paperboard insert. A flocked plastic tray behaves differently from molded pulp. Dimensional variation in the product itself must also be considered.
For this reason, it is better to provide your manufacturer with the actual product sample and let the design team validate the fit through a physical sample. Die-cut tolerances can vary by material and production method, making sample confirmation especially important before large-scale production.
Step 5: Determine the Required Insert Depth
Insert depth affects both protection and unboxing. A product sitting too deep may be difficult to remove. A product sitting too high may be exposed to lid pressure or movement.
Consider these three options:
| Insert Position | Typical Effect | Лучшее для |
|---|---|---|
| Deep recessed fit | Maximum retention and stronger side protection | Fragile products, glass bottles, electronics |
| Semi-recessed fit | Balanced protection and easy removal | Cosmetics, gift sets, premium consumer goods |
| Raised display fit | Strong visual impact and easy product access | Jewelry, watches, premium launch kits |
A common premium presentation approach is the semi-recessed fit. The product sits securely below the rim of the insert but remains visible enough for the customer to grasp it easily.
If the product must sit lower for protection, consider adding a satin ribbon pull, paper pull tab, finger notch, or removable upper tray. These details improve usability without compromising the secure fit.
Step 6: Measure Every Accessory Separately
Many packaging projects fail because the main product is measured carefully while accessories are treated as an afterthought.
A rigid box set may include:
– Product bottle or device
– Charger or cable
– Instruction booklet
– Warranty card
– Sample sachets
– Replacement parts
– Cleaning cloth
– Gift card
– Ribbon or tissue paper
Each component needs a defined place. Loose accessories can scratch the primary product, create noise, and make the unboxing experience feel disorganized.
For multi-item packaging, begin with a layout map. Place actual samples on a flat surface and arrange them at full scale. Leave realistic spacing between items. Then photograph the layout from directly above and send it to the manufacturer with each product’s dimensions.
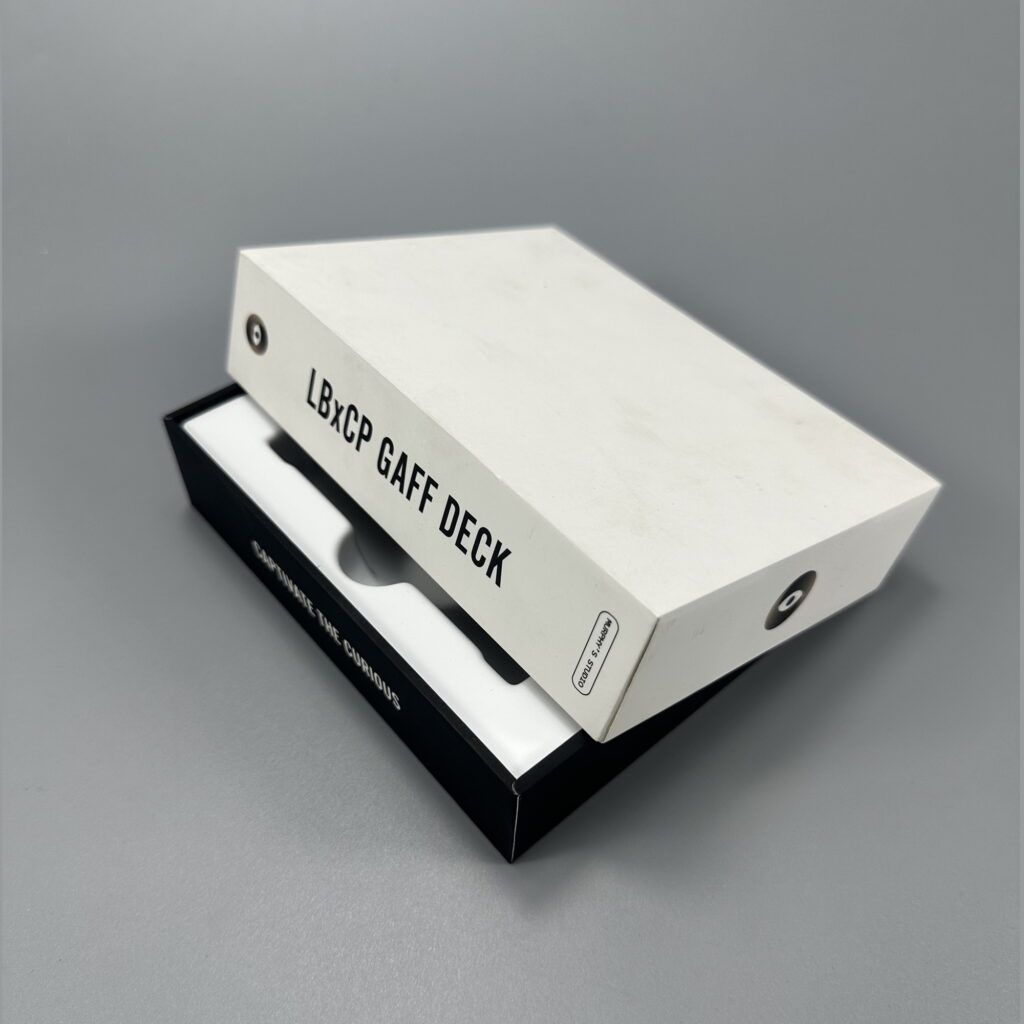
Choosing the Right Rigid Box Insert Material
The term “rigid box insert” covers several materials. The best choice depends on product weight, surface sensitivity, desired appearance, budget, sustainability objectives, and production quantity.
| Insert Material | Strengths | Ограничения | Common Applications |
|---|---|---|---|
| Paperboard insert | Cost-effective, printable, recyclable appearance, suitable for branding | Less cushioning for very fragile products | Cosmetics, gift sets, stationery, apparel accessories |
| EVA foam insert | Excellent cushioning, precise fit, premium feel | Less suitable for brands prioritizing fiber-based packaging | Electronics, tools, glass products, luxury gifts |
| EPE foam insert | Lightweight and protective | Less refined appearance unless covered | Transit-focused protection, industrial products |
| Flocked blister or plastic tray | Smooth finish, shaped cavities, consistent presentation | May require plastic-material considerations | Cosmetics, accessories, consumer electronics |
| Molded pulp insert | Fiber-based appearance, cushioning potential, sustainability positioning | Surface finish and precision may be more limited | Eco-focused products, bottles, consumer goods |
| Wrapped board insert | Premium paper-covered appearance, strong visual integration | Higher labor and production complexity | Luxury cosmetics, jewelry, high-end gift boxes |
For a luxury rigid box, the material should support both the product and the brand story. A high-end skincare brand may choose a wrapped paperboard insert to maintain a fully coordinated look. A heavy electronic item may need foam or a hybrid structure beneath a paper-covered top layer.
Important: Sustainable packaging should be assessed as a complete system. A fiber-based insert can support environmental goals, but it must also protect the product adequately. Product damage, returns, and replacement shipments can undermine the sustainability benefits of using less material.
The Hidden Challenge: Tolerances in Rigid Box Insert Design
Tolerance is the permitted variation in a product, material, or manufacturing process. It is one of the most important concepts in precision packaging, yet it is often overlooked during initial design discussions.
A product that measures 100 mm wide in one sample may not measure exactly 100 mm in every production batch. Similarly, a die-cut paperboard insert, foam cavity, wrapped board structure, or rigid box interior may vary slightly based on material behavior and production conditions.
Sources of Fit Variation
Several factors can change final fit:
– Product manufacturing variation
– Cap, closure, or label changes
– Material thickness variation
– Die-cutting tolerance
– Lamination or wrapping thickness
– Humidity-related paper expansion or contraction
– Hand-assembly variation for complex premium boxes
– Changes to included accessories
This is why a packaging manufacturer should not finalize a mass-production insert based solely on a digital drawing. A physical sample validates whether the product can be inserted, removed, displayed, and transported as intended.
For practical design, Bonito Packaging recommends a sample-first workflow:
1. Provide actual product samples and accessory samples.
2. Confirm the product orientation and desired presentation.
3. Review a structural drawing or layout proposal.
4. Produce a white sample or prototype.
5. Test insertion, removal, lid closure, and product stability.
6. Approve materials, colors, finishes, and final fit.
7. Proceed to mass production only after written sample approval.
This process reduces avoidable rework, protects your product, and gives procurement teams a clearer basis for quality control.
Rigid Box Insert Fit: Common Problems and Solutions
The following table can help buyers identify potential issues before placing an order.
| Common Problem | Likely Cause | Recommended Solution |
|---|---|---|
| Product rattles inside the box | Cavity clearance is too large | Reduce cavity size, add side supports, or use a more resilient insert material |
| Product is difficult to remove | Cavity is too tight or too deep | Add a finger notch, pull ribbon, lift tab, or slightly adjust clearance |
| Lid will not close smoothly | Product or insert sits too high | Reduce insert height, revise cavity depth, or increase box depth |
| Product scratches during packing | Abrasive contact surface or insufficient clearance | Use a softer lining, increase controlled clearance, or redesign contact points |
| Product rotates in the cavity | Round or irregular product lacks orientation control | Add contour support, keying features, or multi-point retention |
| Accessories move around | No dedicated compartments | Add separate cavities, partitions, trays, or paperboard holders |
| Insert looks low-end | Material and finish do not match the brand | Use wrapped board, flocking, printed paperboard, or a coordinated color system |
A Practical Example: Measuring a Skincare Bottle Gift Set
Imagine a premium skincare brand launching a gift set containing a 30 ml serum bottle, a 50 ml cream jar, and an instruction card.
The serum bottle measures 38 mm × 38 mm × 112 mm, while the cream jar measures 62 mm in diameter and 48 mm high. The initial idea is to place both products upright inside a magnetic rigid box.
A manufacturer should not simply create two exact-size holes. Instead, the design process should consider:
– The serum cap may be wider than the bottle body.
– The glass bottle needs secure support around stable areas.
– The cream jar may require a circular cavity with sufficient removal clearance.
– The card needs a separate flat compartment or visible presentation layer.
– The box lid must close without touching the top of the serum cap.
– The customer should be able to remove both products without turning the box upside down.
A strong solution may include a wrapped paperboard insert with two semi-recessed cavities, a finger notch beside the jar, a satin ribbon pull beneath the serum bottle, and a branded instruction card placed on top or in a dedicated side slot.
The result is not merely a box that holds products. It is a structured brand experience that looks intentional from the first opening.
What to Send Your Rigid Box Manufacturer
To receive an accurate quotation and a more reliable insert recommendation, prepare the following information before contacting a custom rigid box manufacturer:
– Actual product samples, if available
– Product dimensions in millimeters
– Product weight
– Product photos from multiple angles
– Details of fragile, glossy, printed, or no-pressure areas
– Required product orientation
– Full list of accessories
– Target box quantity
– Preferred insert material or sustainability requirements
– Desired outer box style, such as magnetic closure, drawer box, lid-and-base box, shoulder box, or book-style box
– Brand artwork, logo files, and color references
– Target delivery date and shipping destination
The more complete your information, the faster a manufacturer can identify risks, recommend suitable materials, and develop an insert that works in real production conditions.
Request a Precision-Fit Rigid Box Insert Sample
A luxury rigid box should do more than contain a product. It should protect the item, simplify packing, create confidence during shipping, and make the customer feel that every detail was considered.
At Bonito Packaging, we develop custom rigid boxes and precision-fit inserts for brands that need premium presentation and dependable production support. Share your product samples, dimensions, target quantity, and packaging concept with our team. We can help you evaluate the right insert material, cavity structure, and box format before you commit to mass production.
Contact Bonito Packaging today to start your custom rigid box insert project and request a fit-focused sample proposal.
ЧАСТО ЗАДАВАЕМЫЕ ВОПРОСЫ
1. How much clearance should a rigid box insert have?
The ideal clearance depends on the product shape, product material, insert material, and intended fit. There is no universal number that works for every project. A glass bottle, an electronic device, and a soft pouch all require different allowances. Always validate the final fit with a physical sample before mass production.
2. Can a paperboard insert protect fragile products?
Yes, paperboard inserts can provide useful positioning and moderate protection when properly designed. However, very fragile, heavy, or high-value products may need additional cushioning, reinforced supports, foam, molded pulp, or an outer shipping carton designed for transport conditions.
3. Should I provide a product sample to the rigid box manufacturer?
Yes. Providing a physical product sample is strongly recommended. Digital dimensions are helpful, but real products reveal details such as surface curves, cap variations, labels, protruding parts, weight distribution, and removal requirements that may not appear in technical drawings.
4. What is the best insert material for luxury rigid boxes?
Wrapped paperboard inserts are often ideal for a coordinated luxury appearance. EVA foam can offer stronger cushioning and accurate contour fitting. Molded pulp may suit brands seeking a more fiber-based and eco-focused look. The best choice depends on protection requirements, brand positioning, budget, and sustainability goals.
5. How do I prevent a product from being difficult to remove?
Use a finger notch, pull ribbon, paper tab, lift-out tray, or semi-recessed cavity. These features allow the product to remain secure while giving the customer an intuitive way to remove it.
6. Can one rigid box insert hold multiple products?
Yes. A custom insert can be designed with separate cavities for a main product, accessories, printed cards, cables, samples, and other components. A dedicated place for each item improves protection, packing efficiency, and the perceived value of the gift set.
7. Do rigid box inserts need testing for shipping?
For products that will be shipped through e-commerce or distribution channels, the complete packaging system should be evaluated for real shipping risks. The rigid box insert supports internal retention, but outer cartons and protective shipping materials may also be necessary to withstand vibration, drop, compression, and impact exposure.
References
1. ASTM International. “ASTM D4169-22: Standard Practice for Performance Testing of Shipping Containers and Systems.” Available at: [https://www.astm.org/d4169-22.html]
Used for the discussion of laboratory evaluation of shipping units exposed to distribution hazards.
2. International Safe Transit Association (ISTA). “Test Procedures: ISTA 3-Series.” Available at: [https://ista.org/test_procedures.php]
Used for information on general simulation performance testing and the purpose of ISTA 3-Series protocols.
3. International Safe Transit Association (ISTA). “ISTA Procedure 3A Overview.” Available at: [https://ista.org/docs/3Aoverview.pdf]
Used for information on parcel-delivery simulation testing for individual packaged products up to 70 kg / 150 lb.
4. GMS Industries. “How to Design Custom Product Inserts for Packaging.” Available at: [https://gmsindustries.com/feeds/blog/design-custom-product-inserts-packaging]
Used for guidance on measuring actual products, validating physical fit, considering die-cut tolerance, and testing prototypes before production.
5. Fibre Box Association. “Corrugated Packaging Industry.” Available at: [https://www.fibrebox.org/]
Used for general context on the structural rigidity and cushioning role of packaging materials.
6. Westpak. “ISTA 3A Test Procedure.” Available at: [https://westpak.com/test-standards/ista-3a/]
Used for supplementary context regarding conditioning, drops, vibration, and parcel-distribution test elements.
Hot Tags: Rigid Box, Manufacturers, Customized, Custom, Suppliers, Buy, Cheap, Quality, Advanced, Durable, in Stock, Made in China, Price, Quotation, Free Sample
 English
  Spanish
  French
  German
  Russian
  Japanese
  Portuguese
  Arabic