
Knowing how to measure box dimensions starts with length × width × height. However, ordering custom packaging requires more than three numbers. You also need to specify whether those measurements describe the inside space, the finished exterior, or the product itself.
For brands developing premium packaging, these distinctions affect product fit, presentation, and shipping estimates. At Bonito Packaging, we approach this guide from a manufacturer’s perspective: define what must fit, identify the box structure, and validate the finished package before production.
Here is how to turn basic measurements into a clearer custom box specification.
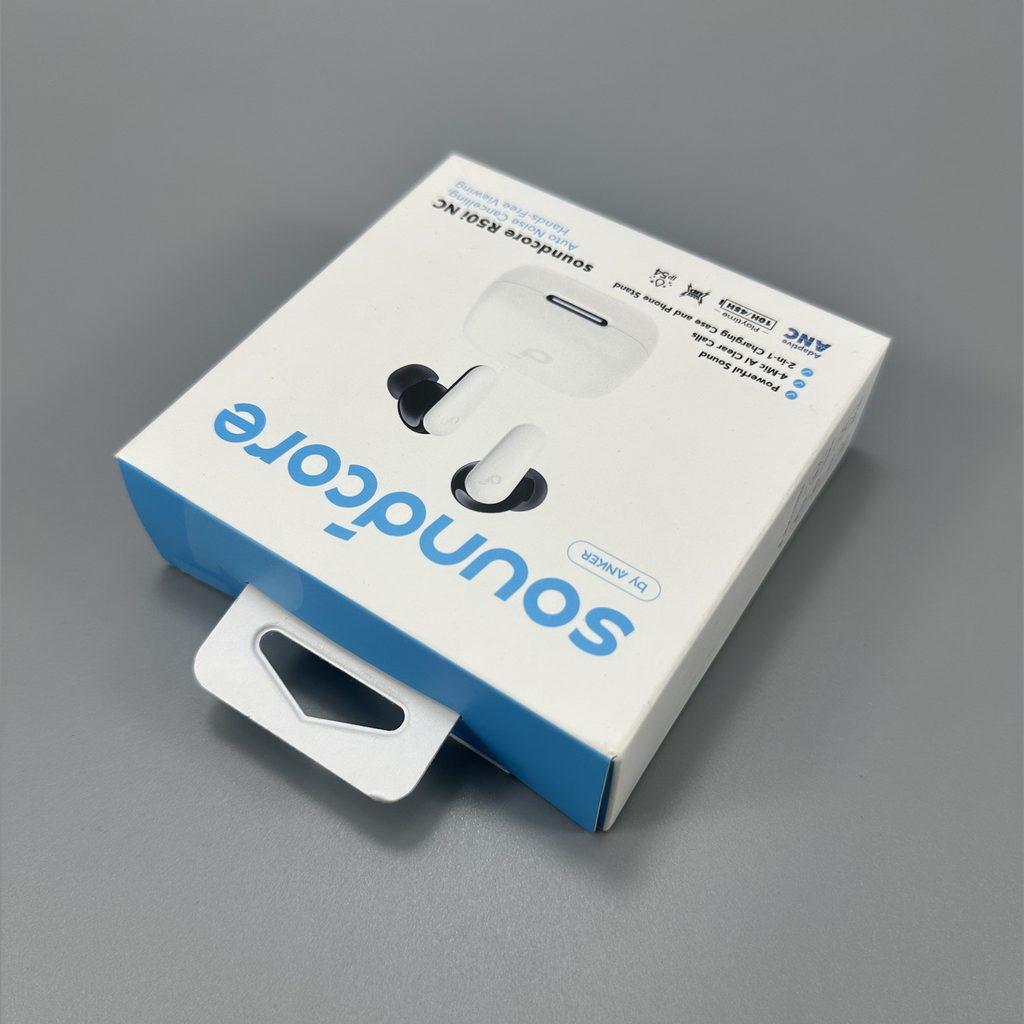
Understanding Box Dimensions: Length, Width, and Height
For many conventional box designs, dimensions follow the opening:
– Length is the longer dimension across the opening.
– Width is the shorter dimension across the opening.
– Height runs from the base to the opening.
A box specified as 200 × 150 × 80 mm therefore has a 200 mm opening length, a 150 mm opening width, and an 80 mm height.
Do not automatically call the longest overall edge “length” when ordering packaging. A tall, narrow box can have a height greater than its length.
Shipping carriers may instead define length as the package’s longest side. Keep the manufacturing drawing and shipping entry consistent with their respective requirements.
Inside vs. Outside Box Dimensions: Which Should You Use?
Use internal dimensions to describe the space available inside a box. Use external dimensions to describe its finished footprint.
For custom packaging enquiries, label your measurements explicitly:
> Required internal dimensions: 200 × 150 × 80 mm, length × width × height.
External measurements matter when checking:
– Shipping dimensions and carrier limits.
– Shelf, storage, and master-carton fit.
– The footprint of the closed presentation box.
Neither measurement replaces the other. Board thickness, folded layers, wrapping materials, and structural details can affect the relationship between them.
For premium rigid boxes, ask for both usable internal dimensions and closed external dimensions on the approved drawing.
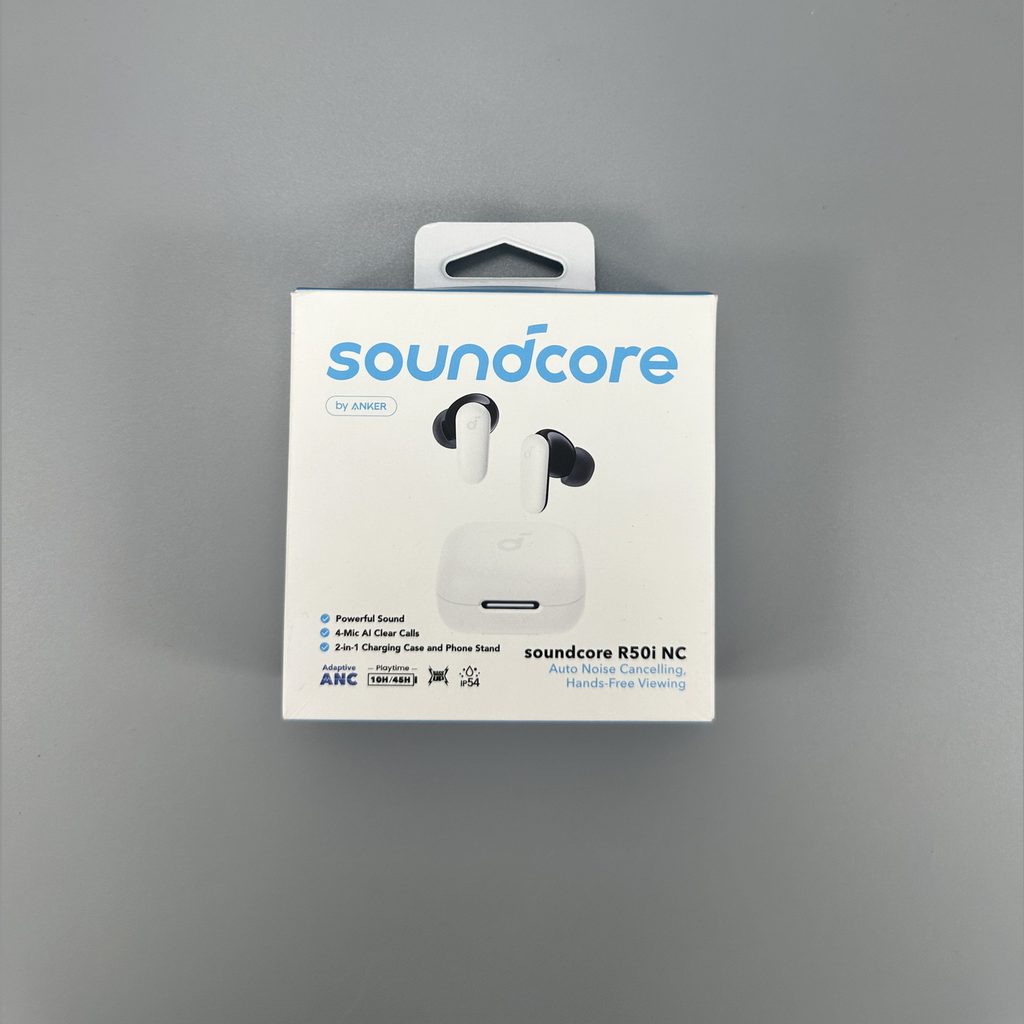
How to Measure a Box Step by Step
1. Prepare the Box and Measuring Tools
Use a rigid ruler or a non-stretch measuring tape. Calipers can help check small components or material thickness.
Assemble the box fully on a flat surface. For internal measurements, open the lid without distorting the walls. For shipping measurements, pack and close the package as it will travel.
2. Measure the Internal Opening and Height
Measure between the inner walls for length and width.
Measure from the internal base to the intended closure level for height. Exclude open flaps, decorative ribbons, and projecting lid panels from usable interior measurements.
Check more than one position if the walls bow or the structure narrows. A product must fit through the tightest relevant area, not merely the widest opening.
3. Measure the Closed Exterior Separately
Close the filled package normally, without forcing the lid or compressing the contents.
Measure its maximum external extent in each direction. Include bulges and protrusions that form part of the shipped package.
If a presentation box travels inside a protective shipping carton, measure that final outer carton for the shipping estimate.
4. Record Units and Orientation
Write the unit beside every dimension set. Avoid sending unlabelled numbers such as “200 × 150 × 80.”
Add a photograph or sketch showing the opening, front panel, and product orientation. This helps distinguish a tall display box from a shallow gift box with similar measurements.
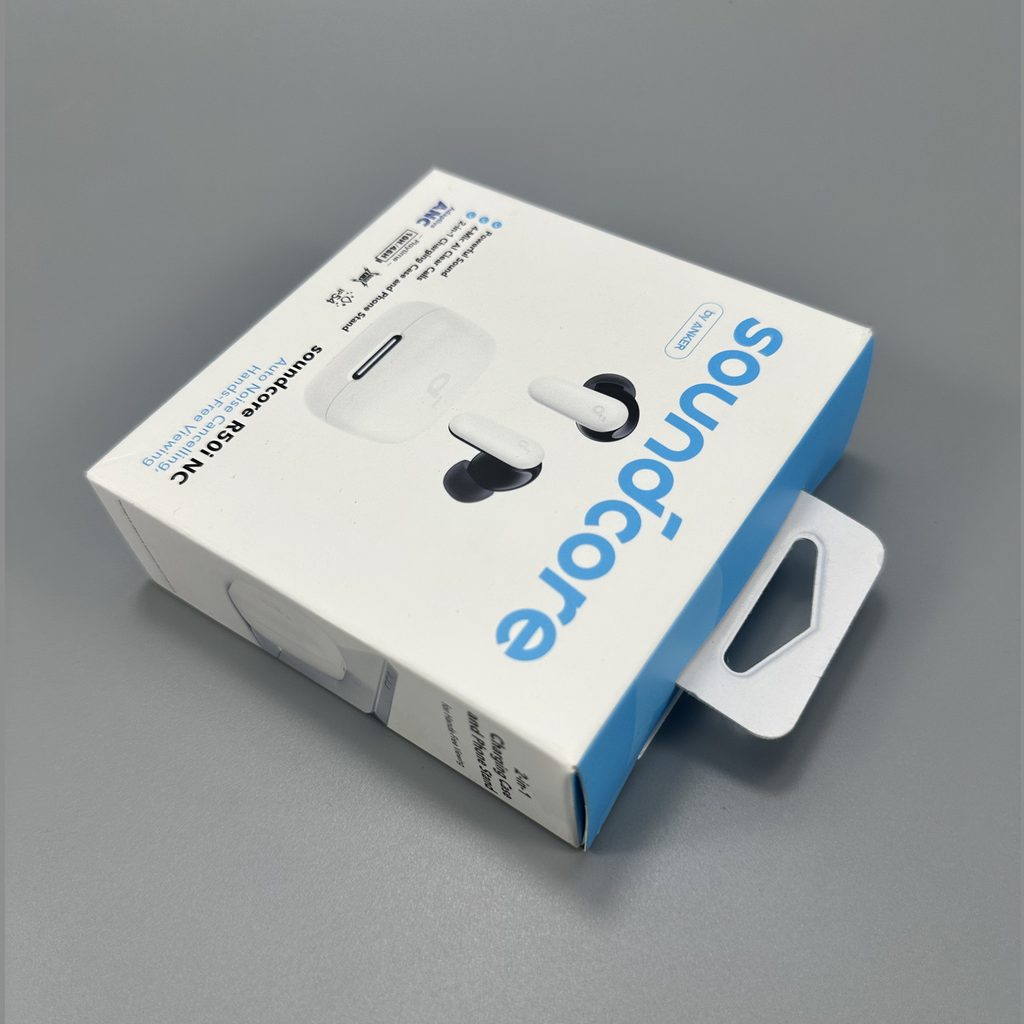
How to Calculate Custom Box Size Around Your Product
Start with the complete product, including caps, pumps, handles, accessories, and anything packed beside it.
Then identify three separate allowances:
1. Protection: cushioning, dividers, or insert walls.
2. Handling clearance: space needed to place and remove the product.
3. Manufacturing tolerance: agreed variation in the finished components.
Do not treat these as interchangeable.
For a simple centered arrangement, the planning relationship along one axis is:
Required internal size = product size + protection on both sides + handling clearance.
Illustrative Example: Sizing a Gift Box With an Insert
Suppose a product measures 160 × 90 × 40 mm.
Assume the proposed insert occupies 8 mm on each side along the length and width. Add 2 mm total handling clearance along those two axes.
The preliminary internal footprint becomes:
– Length: 160 + 8 + 8 + 2 = 178 mm.
– Width: 90 + 8 + 8 + 2 = 108 mm.
Calculate height separately using the actual insert base, product position, and lid clearance.
These figures illustrate the method, not a universal allowance. The insert cavity and outer box still require physical testing together.
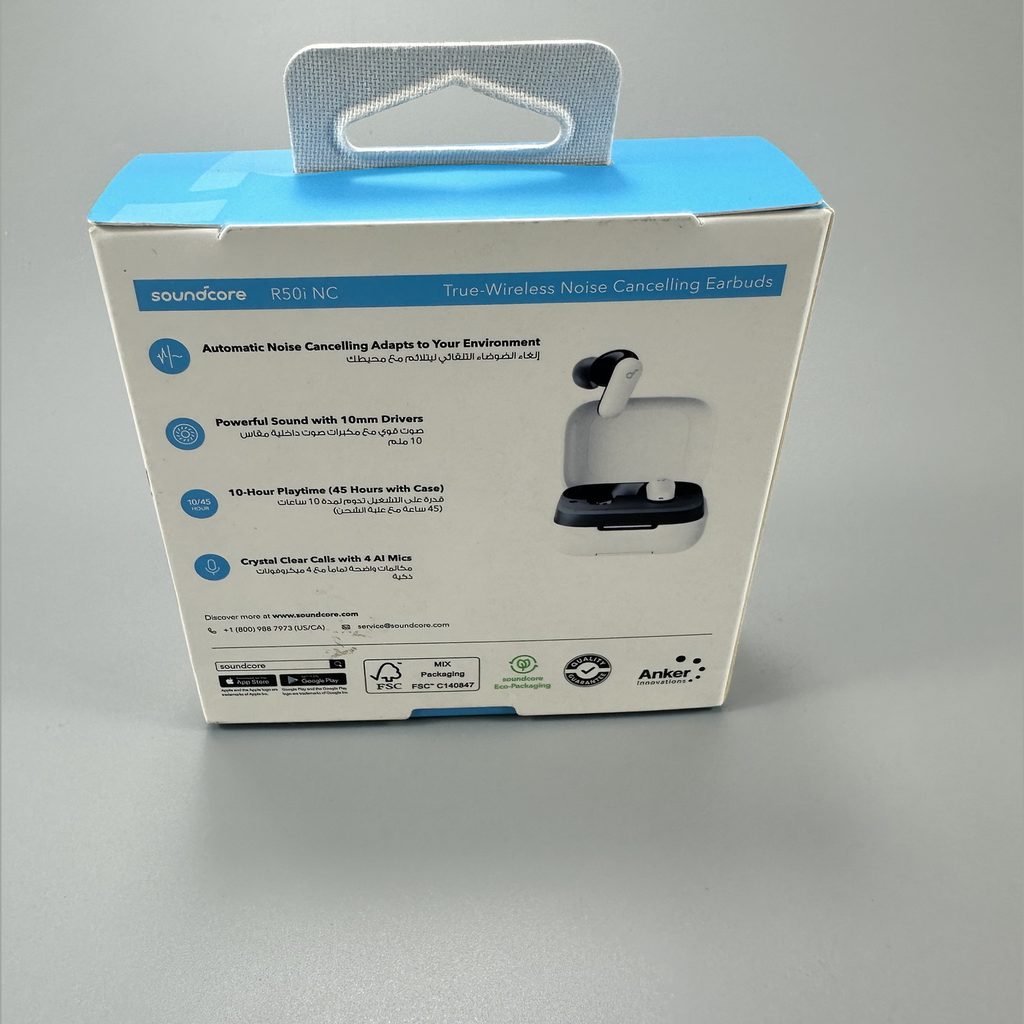
Measuring Rigid Boxes, Drawer Boxes, and Magnetic Gift Boxes
Premium structures need more detail than a single dimension line.
For two-piece rigid boxes, specify the base’s usable interior and the closed box exterior. Identify lid depth separately when it matters to the design.
For drawer boxes, distinguish the tray’s usable space from the sleeve’s external footprint. Confirm that the loaded drawer slides without excessive friction or looseness.
For magnetic closure boxes, check clearance around the hinge and closing panel. A product that fits inside the cavity may still interfere with closure.
Approve the assembled structure rather than estimating every finished dimension from board thickness alone.
How Box Dimensions Affect Shipping Costs
Dimensional weight connects package volume with a carrier’s billing calculation. Depending on the service, the chargeable weight may be the greater of actual weight and dimensional weight.
The general calculation is:
Dimensional weight = external length × width × height ÷ applicable divisor.
For illustration, using centimetres and a divisor of 5,000:
– A 30 × 20 × 10 cm package produces 1.2 kg.
– A 30 × 20 × 15 cm package produces 1.8 kg.
The second package has 50% more volume, but that does not automatically mean a 50% higher shipping price.
Check the carrier’s current divisor, dimension-rounding rules, weight rounding, and surcharges. Published guidance can differ by market and service; do not assume that fractional dimensions always round to the nearest whole number.
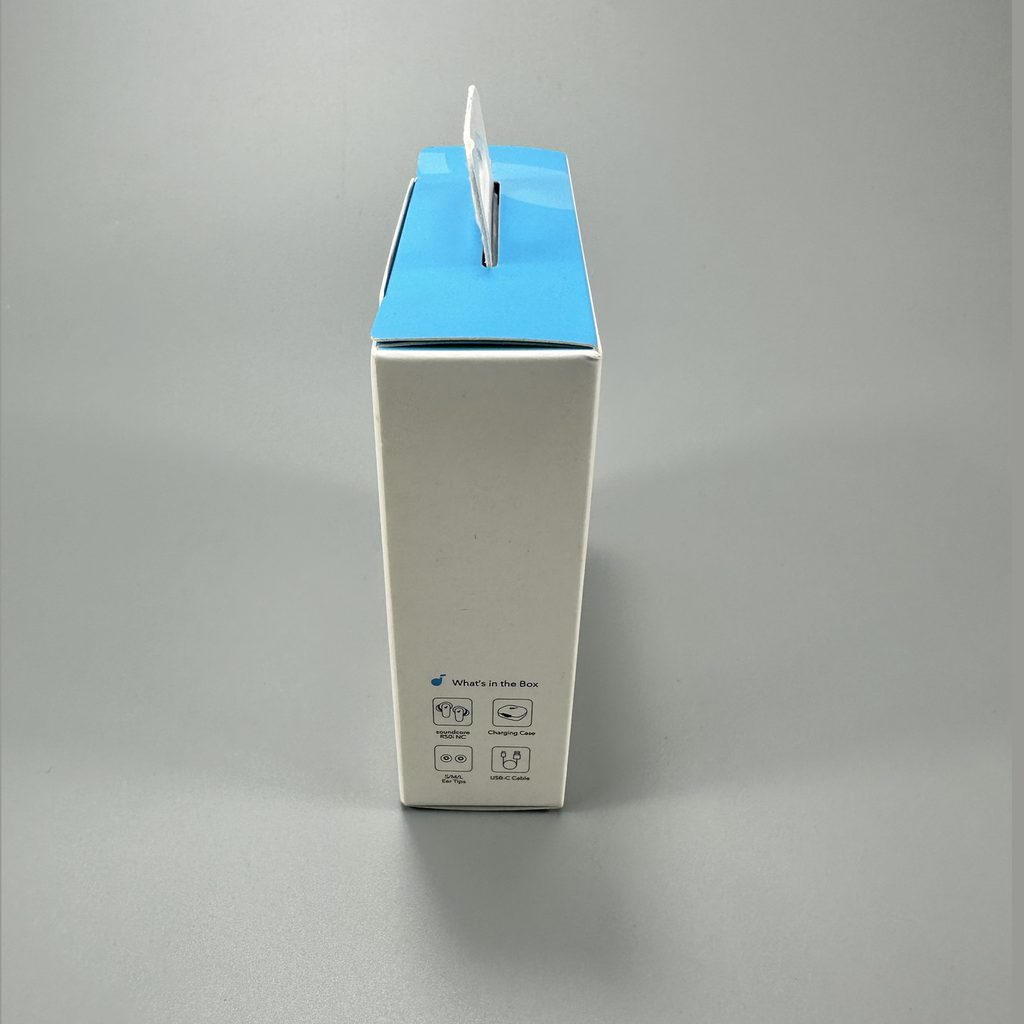
Confirm Fit Before Approving Bulk Production
Request a structural sample and test it with the actual product, insert, and accessories.
Check that:
– The product enters and lifts out comfortably.
– The insert holds it in the intended position.
– The lid closes without pressure or distortion.
– The loaded package maintains the desired presentation.
– The protective shipping configuration suits the distribution route.
Agree on critical dimensions, measurement methods, and acceptable tolerances in writing. A fit-approved sample is not, by itself, evidence of transit protection; shipping performance requires appropriate evaluation.
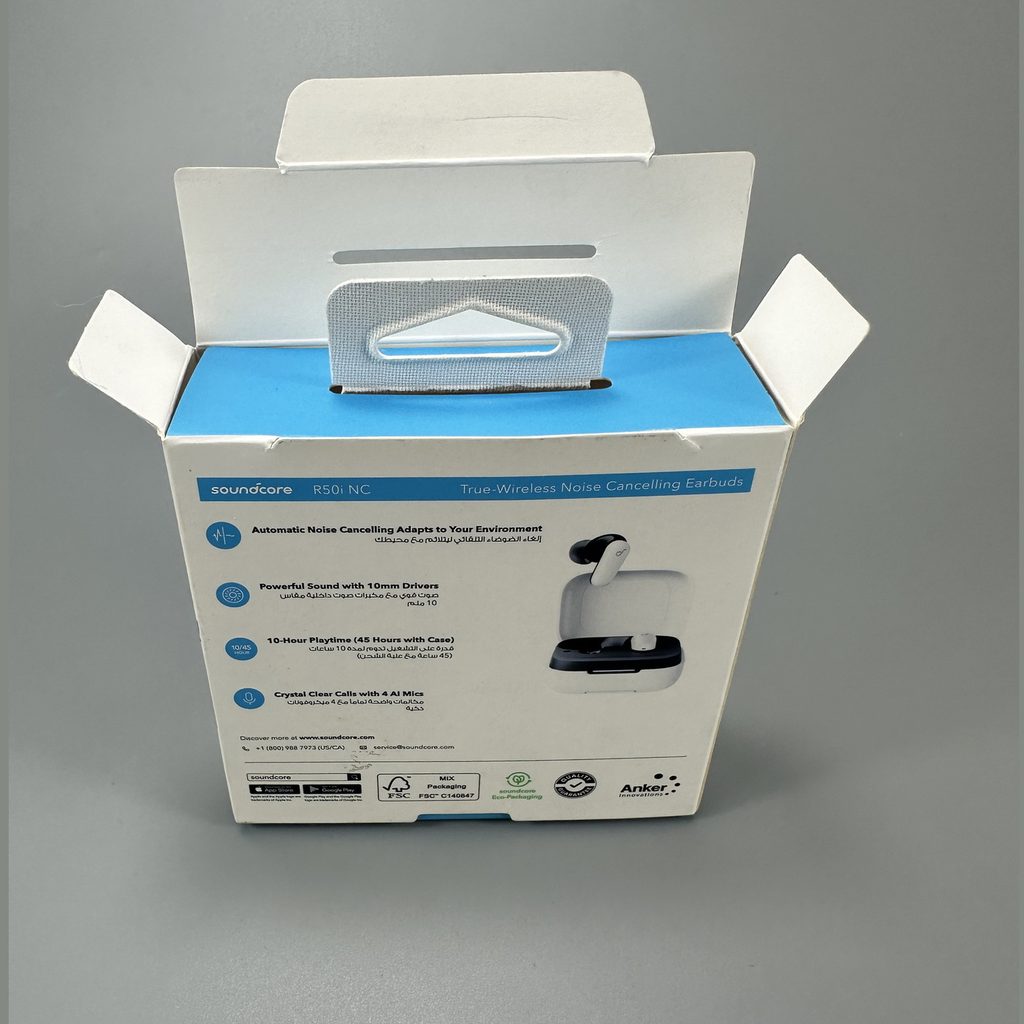
Request a Custom Box Specification From Bonito Packaging
Send Bonito Packaging your product dimensions, weight, photographs, preferred box style, quantity, and insert requirements.
Label existing measurements as internal or external. If dimensions are not final, provide a product sample and request a structural review before approving the production specification.
Frequently Asked Questions
1. What Is the Correct Order for Box Dimensions?
For conventional packaging specifications, use length × width × height. Include units and identify whether the dimensions are internal or external.
2. Are Custom Box Dimensions Inside or Outside?
Many packaging specifications use internal dimensions, but conventions vary. Always label the measurement basis rather than assuming the supplier uses yours.
3. Should I Measure a Box With the Lid Open?
Open it to measure usable internal space. Close the fully packed package to measure its finished external shipping dimensions.
4. How Much Extra Space Should I Add Around a Product?
There is no universal allowance. Calculate space for protection, handling, and the chosen structure, then confirm fit using a physical sample.
5. Can I Use Product Dimensions as Box Dimensions?
Not directly. Product measurements exclude insert thickness, cushioning, handling clearance, and structural requirements that may increase the necessary box size.
6. Does a Smaller Box Always Cost Less to Ship?
No. Reduced volume may lower dimensional weight, but actual weight, service, destination, minimum charges, and surcharges also affect the final price.
References
1. Custom Box Makers. [“How to Measure a Box Dimension Clearly? Detailed Guide.”] By Dian Priastuti, January 23, 2026. Original article supplied for restructuring; covers basic dimension order, internal versus external measurements, and prototype checks. [customboxmakers]
2. FEFCO. [“FEFCO Code — Design Style Library for Corrugated Board Products.”] Technical reference for opening-based length, width, and height conventions and internal case dimensions. Its scope is corrugated packaging, not every premium rigid-box construction. [fefco]
3. FEFCO. [“Recommendation No. 101: Procedure for Determining the Internal Dimensions of the Flap Type or One-Piece Corrugated Board Cases.”] Technical basis for distinguishing finished internal dimensions from flat-blank crease measurements and board-thickness allowances. [fefco]
4. FedEx. [“Reduce Shipping Costs by Understanding Dimensional Weight.”] Supports the dimensional-weight formula, centimetre-based divisor example, and the need to verify carrier-specific factors and rounding rules. [fedex]
5. FedEx. [“2026 Service Guide.”] Current service-guide evidence for dimensional-weight calculations and rounding fractional package dimensions upward under the covered services. [fedex]
6. FedEx. [“General Packaging Guidelines.”] Reference for shipping-package measurement conventions, including defining length as the longest side and comparing actual with dimensional weight. [fedex]