
Understanding inside vs. outside dimensions is essential when ordering a caixa personalizada. Inside dimensions determine whether your product fits. Outside dimensions determine how the finished package fits into shipping cartons, storage spaces, and retail displays. Confusing them can leave you with packaging that looks right on a drawing but fails in use.
Em Embalagem de Bonito, we approach high-end custom paper packaging from a manufacturer’s perspective: start with the product, build the protective structure around it, and verify the finished package before production.
The central principle is fit. A successful box must accommodate the product, insert, protective materials, and normal manufacturing variation—not simply match three measurements.
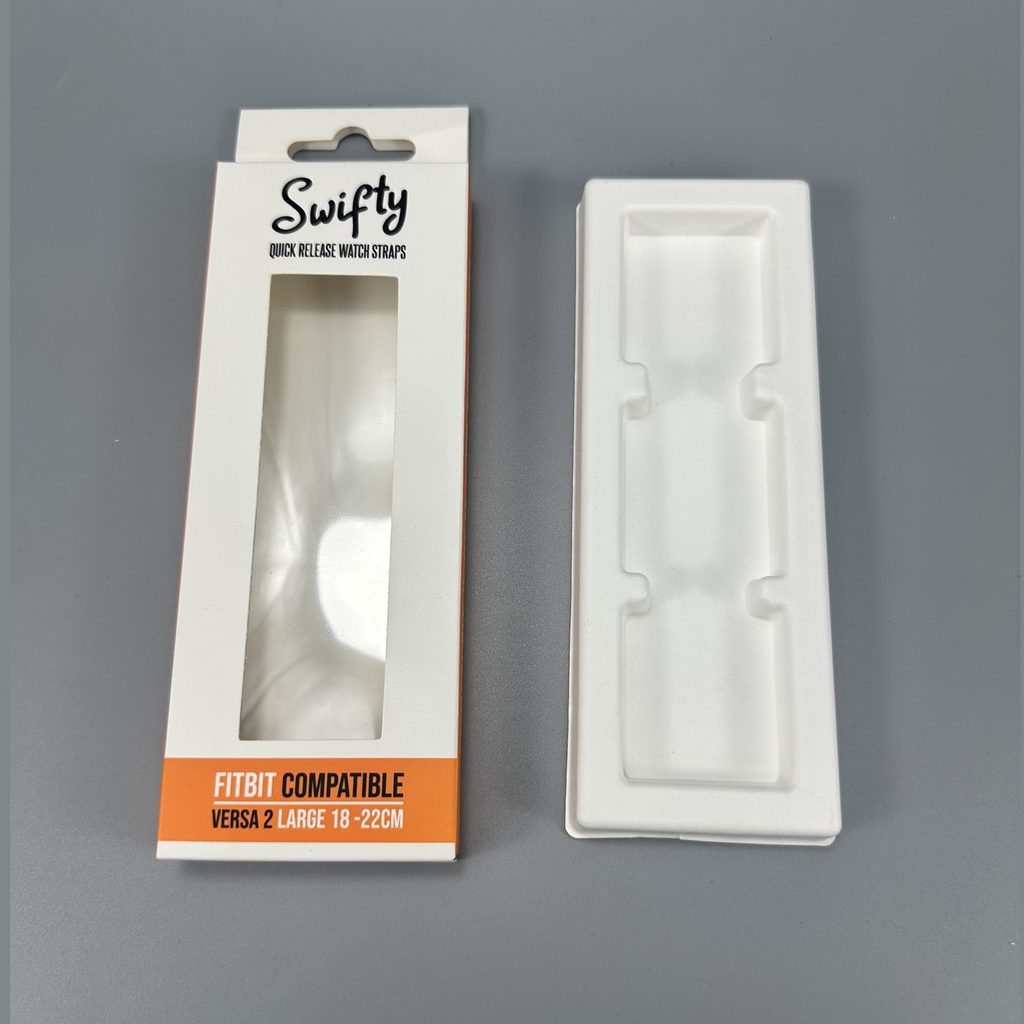
Inside vs. Outside Box Dimensions: What Is the Difference?
Inside dimensions describe the space within an assembled box. Outside dimensions describe its overall finished size, including the walls, lid, and any projecting structural elements.
Both matter, but they answer different purchasing questions.
| Measurement | What It Describes | Main Purchasing Purpose |
|---|---|---|
| Inside dimensions | Interior space between finished surfaces | Product and insert fit |
| Outside dimensions | Maximum overall size of the closed box | Shipping, storage, and display planning |
| Insert cavity dimensions | Opening designed to receive the product | Product positioning and retention |
| Usable closed height | Available vertical clearance with the lid closed | Preventing pressure on the product |
A quotation stating “200 × 150 × 80 mm” is incomplete unless it identifies which measurements these are.
For a premium rigid box, the distinction becomes especially important. Thick board, wrapped edges, overlapping lids, and internal shoulders can all affect the relationship between interior space and exterior size.
Inside Dimensions Are Not Always Usable Product Space
A box can have adequate internal dimensions yet still fail to accommodate the product.
An insert reduces available space. A folded flap can create a local obstruction. A recessed lid may reduce headroom when closed.
For that reason, distinguish between the empty box interior and the finished product cavity. Approve the assembled packaging system rather than relying on the empty shell alone.
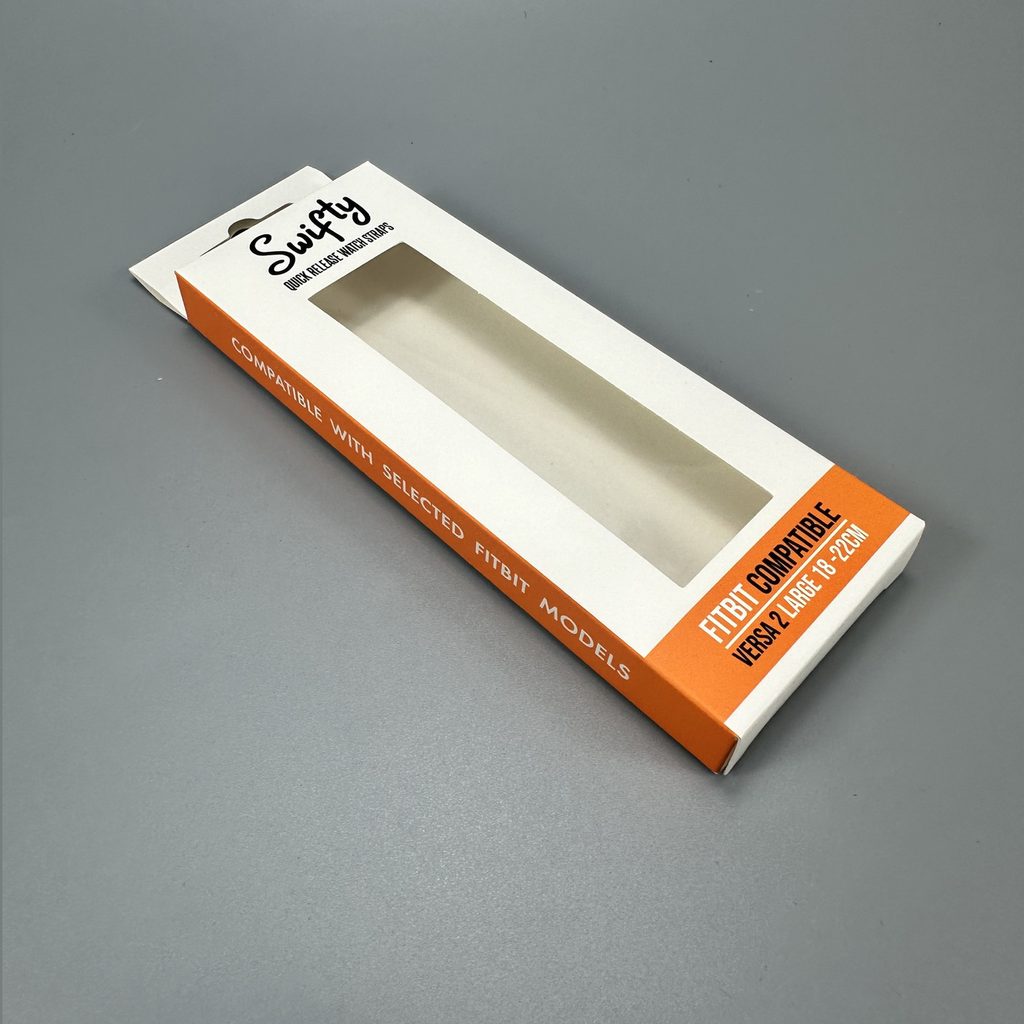
How to Measure a Box: Length × Width × Height
Record custom box dimensions in an agreed sequence, normally length × width × height.
For many box structures:
– Length is the longer dimension across the opening.
– Width is the shorter dimension across the opening.
– Height, sometimes called depth, runs from the base toward the opening.
However, do not assume that every supplier or carrier uses identical conventions. Shipping measurements may define length as the package’s longest overall side, regardless of its opening.
Use a labeled structural drawing whenever orientation could be misunderstood.
Measuring Internal Box Dimensions
1. Assemble the box fully and square its corners.
2. Measure between the finished interior walls.
3. Measure the interior depth from the finished base.
4. Install the insert and protective components.
5. Check usable clearance with the lid closed.
Keep the ruler straight. For smaller packaging, calipers can help check critical dimensions, provided they do not compress the material.
Measuring External Box Dimensions
Close the box in its intended condition and measure its greatest overall length, width, and height.
Include projecting lids, closures, and any bulging caused by the packed contents.
If the presentation box travels inside a protective shipping carton, measure that final shipping carton separately. The presentation box’s exterior dimensions are not automatically the shipment’s dimensions.
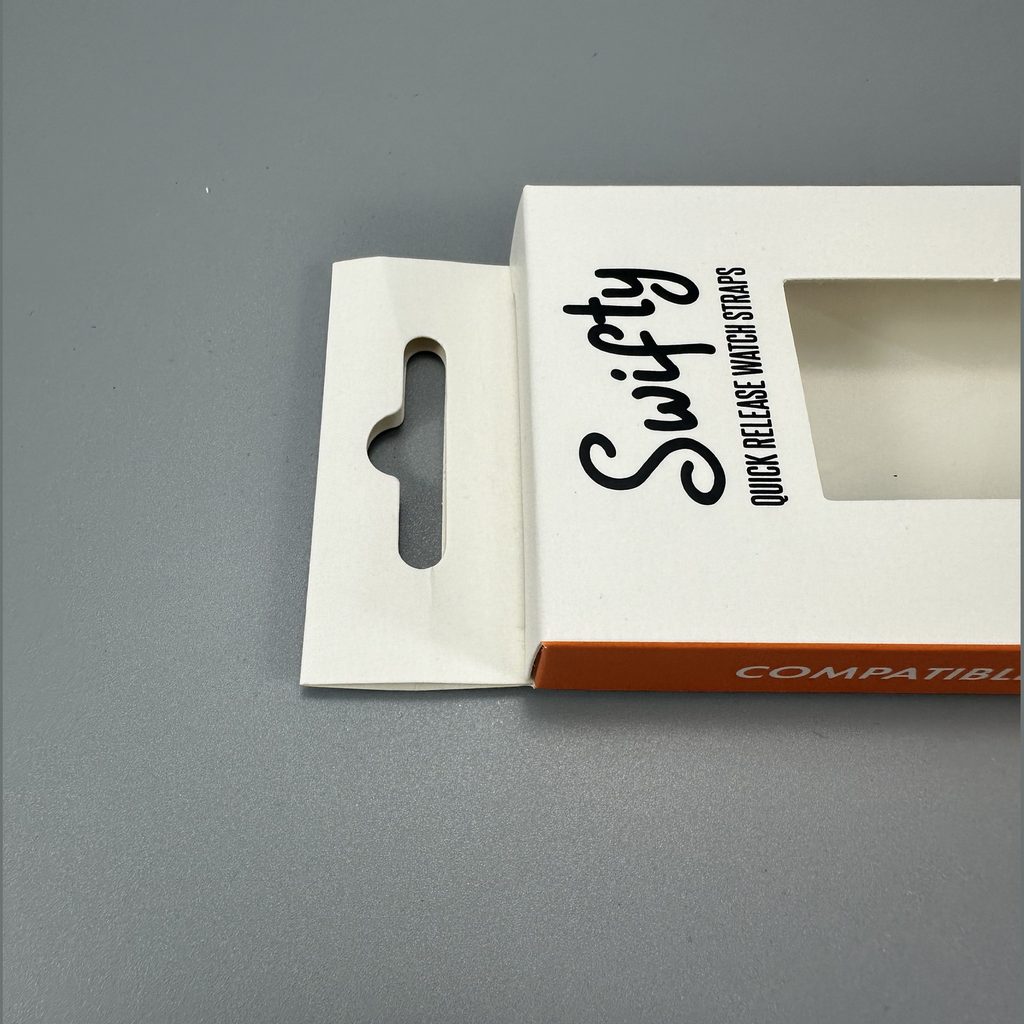
Why Board Thickness Changes Custom Box Size
Paperboard thickness, or caliper, contributes to the difference between internal and external measurements.
However, material thickness is only part of the calculation. Structure also matters.
| Box Structure | Features That Affect Finished Dimensions |
|---|---|
| Folding carton | Board caliper, folds, glue seams, and closure flaps |
| Rigid lid-and-base box | Board thickness, wrapping, and lid overlap |
| Magnetic closure box | Cover construction, hinge area, and closure geometry |
| Drawer box | Inner tray, outer sleeve, and sliding clearance |
| Corrugated mailer | Board construction, folded panels, and locking features |
Can You Calculate Outside Dimensions from Inside Dimensions?
For a simplified rectangular enclosure with two opposing walls of equal thickness:
Outside length≈Inside length+2t
Here, t represents effective wall thickness.
This is a conceptual estimate, not a production rule. It does not automatically account for wrapping, overlapping lids, doubled panels, or closure details. Height is particularly structure-dependent.
Ask the manufacturer to confirm both internal and external dimensions on the structural drawing. Do not approve a luxury box using a thickness formula alone.
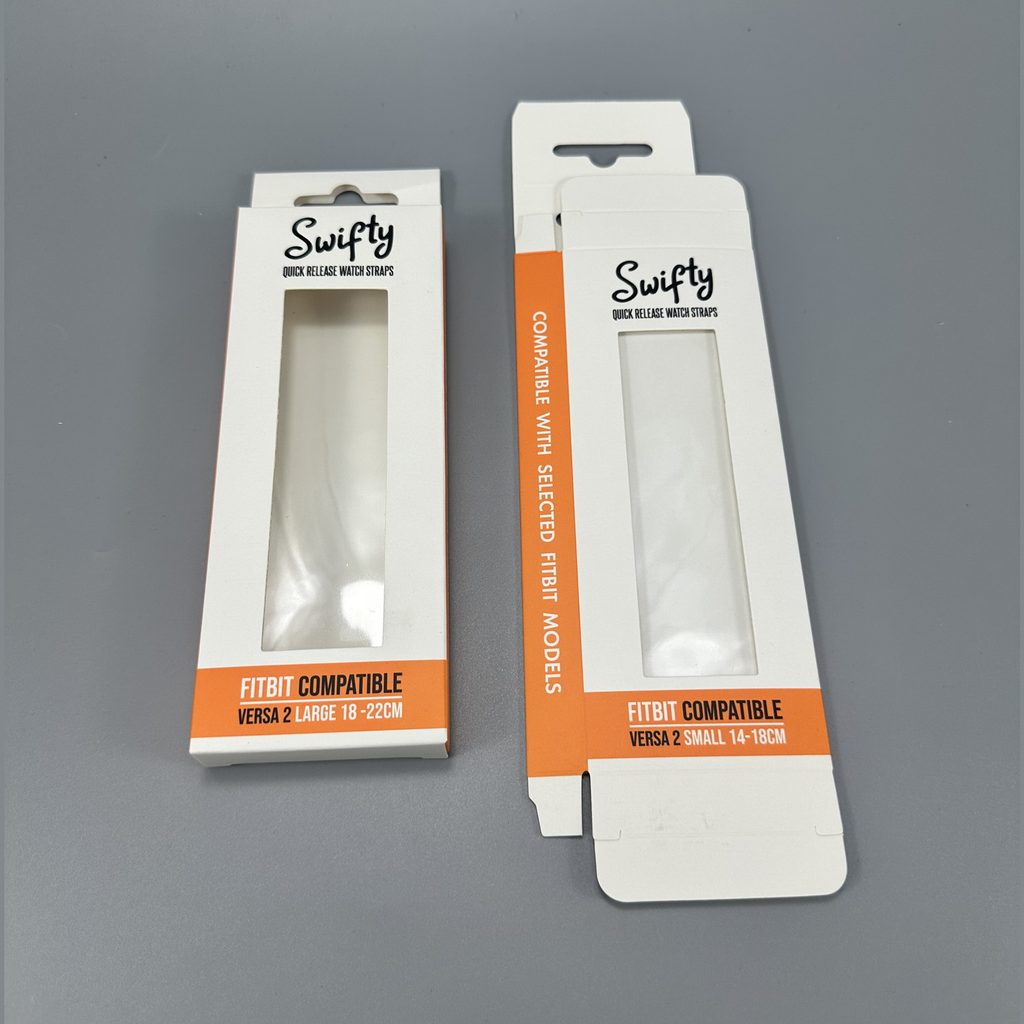
How to Choose the Right Internal Box Size
The right box size starts with the product’s maximum expected dimensions—not just the dimensions of one convenient sample.
Measure the complete product as it will be packed, including caps, labels, handles, protective sleeves, and accessories.
Then work through three decisions.
1. Define the Product’s Packing Orientation
A bottle packed upright needs a different structure from the same bottle presented horizontally.
For gift sets, arrange all components before selecting the box footprint. Include dividers, instruction cards, and finger-access areas.
A compact arrangement is valuable only if packing and removal remain practical.
2. Design the Insert Around Product Requirements
The insert cavity and the box interior serve different purposes.
The cavity holds the product. The surrounding insert provides positioning, separation, and structural support.
A glass bottle may require controlled retention and cushioning. A delicate paper sleeve may need a looser fit to prevent scuffing.
There is no universal clearance that suits every product or insert material.
3. Add Appropriate Clearance
Clearance is intentional space. Tolerance is permitted variation. They are related, but they are not interchangeable.
Allow room for:
– Product dimensional variation.
– Protective wrapping.
– Insert construction.
– Packing access.
– Comfortable product removal.
– Closure without unwanted pressure.
Too little clearance can slow assembly or damage finishes. Too much can allow movement and weaken presentation.
Worked Example: Sizing a Premium Product Box
Consider a hypothetical product measuring 120 × 60 × 35 mm at its maximum expected size.
Suppose the proposed paperboard insert requires a 124 × 64 mm cavity opening. The design also reserves 8 mm around each side of that opening for the insert structure.
The preliminary box interior footprint becomes:
– Internal length: 124 + 8 + 8 = 140 mm.
– Internal width: 64 + 8 + 8 = 80 mm.
For height, assume the design needs:
– 35 mm product height.
– 5 mm supporting structure beneath the product.
– 3 mm free clearance above it.
The preliminary usable internal height is 43 mm.
That creates a starting specification of 140 × 80 × 43 mm internal dimensions.
These figures illustrate the design process; they are not recommended allowances for every project. Insert stiffness, product fragility, retention method, and closure design still require validation.
The important lesson is that product dimensions do not translate directly into box dimensions.
Manufacturing Tolerances: Plan for Variation Before Ordering
A nominal dimension is the target measurement. A tolerance defines the acceptable variation around that target.
A package may fit the average product but fail when the largest acceptable product meets the smallest acceptable cavity.
A useful design check is:
Minimum available space−Maximum product size=Minimum remaining clearance
For example, suppose a rigid product can measure up to 120.8 mm long. If its cavity is specified as 123 ± 0.5 mm, the minimum cavity length is 122.5 mm.
That leaves 1.7 mm of total lengthwise clearance before considering liners or other intrusions.
This simplified check identifies potential interference. It does not prove that the product will load smoothly or remain secure.
Ask the manufacturer to agree on:
– Critical finished dimensions.
– Acceptable dimensional variation.
– Measurement locations and methods.
– Insert cavity requirements.
– Closure and removal acceptance criteria.
Avoid applying one blanket tolerance to every box style and material.
Outside Box Dimensions and Shipping Costs
External dimensions influence shipping because carriers may calculate dimensional weight: a weight equivalent based on the space a package occupies.
The general formula is:
Dimensional weight=(Package length×Package width×Package height)/Applicable divisor
The divisor, measurement units, rounding rules, and billing conditions depend on the carrier and service.
Always check the current requirements for your shipment.
Small Dimensional Changes Can Affect Package Volume
Consider two hypothetical finished shipping cartons:
| External Dimensions | Calculated Volume |
|---|---|
| 250 × 180 × 100 mm | 4,500,000 mm³ |
| 260 × 190 × 110 mm | 5,434,000 mm³ |
Adding 10 mm to each dimension increases geometric volume by approximately 20.8%.
That does not guarantee a matching increase in freight charges. Actual billing also depends on weight, rounding, rate structures, and other conditions.
Nevertheless, unnecessary space deserves attention. Optimize the complete shipping package without removing protection needed for distribution.
A Practical Custom Box Ordering Specification
A clear purchasing brief reduces ambiguity before sampling and production.
Instead of writing “Please quote a 140 × 80 × 43 mm box,” provide a structured specification.
| Specification Item | Information to Provide |
|---|---|
| Produto | Maximum dimensions, weight, and fragile features |
| Packing arrangement | Orientation, quantity, and accessories |
| Box construction | Folding carton, rigid box, drawer box, or other style |
| Internal dimensions | Clearly labeled L × W × H and units |
| External dimensions | Target or maximum permitted finished size |
| Inserir | Material, layout, cavity dimensions, and retention needs |
| Closure | Lid, magnetic cover, sleeve, or tuck flap |
| Fit requirements | Loading, removal, and allowable movement |
| Distribution | Retail handling, parcel shipping, or master-carton transport |
| Approval | Drawing revision and approved physical sample |
If a shelf opening or master carton imposes a strict size limit, identify that constraint at the beginning.
The manufacturer must balance both requirements: enough interior space and an acceptable exterior envelope.
Validate the Physical Sample Before Production
A drawing communicates intent. A physical sample reveals how the complete package behaves.
Use representative products, including dimensional extremes where available.
Check whether:
1. The product loads without force.
2. The insert supports it correctly.
3. The lid closes without unintended contact.
4. The product can be removed comfortably.
5. Surface finishes remain undamaged.
6. Packed dimensions meet shipping and display limits.
A hand-shake check can reveal obvious looseness, but it is not a substitute for transport testing.
For parcel delivery, an appropriate packaged-product test may be necessary. Test selection should reflect the distribution environment. For example, ISTA Procedure 3A addresses individual packaged products prepared for parcel delivery within its stated scope.
Repeat relevant checks when changes to the product, insert, board, or structure could affect performance.
Order Your Next Custom Box with Clear Dimensions
The right specification connects product fit, presentation, manufacturing variation, and shipping requirements.
For your next Bonito Packaging project, send your product’s maximum dimensions, weight, packing arrangement, insert requirements, and any external size limits. Clearly label measurements as internal or external, and request confirmation through a structural drawing and physical sample before production.
Perguntas frequentes
1. Are Custom Box Dimensions Usually Inside or Outside Measurements?
Many corrugated box specifications use internal dimensions, but conventions vary by structure and supplier. Never rely on an unstated assumption. Write “internal dimensions” or “external dimensions” beside the measurements and confirm them on the drawing.
2. How Much Larger Should a Box Be Than the Product?
There is no universal allowance. The required space depends on product variation, inserts, cushioning, packing access, and protection needs. Develop the fit around the complete packaging system, then validate a representative sample.
3. Do Inserts Count Toward Internal Box Dimensions?
Internal dimensions describe the box interior, not necessarily the space available inside an insert. Specify the insert cavity separately. Its surrounding walls, support platform, and retention features occupy part of the box’s interior.
4. Should Shipping Dimensions Include the Lid?
Yes. Measure the greatest overall dimensions of the closed, packed shipping package, including projecting features. When a presentation box sits inside an outer carton, use the final outer carton’s measurements for shipment planning.
5. Can I Reuse Box Measurements When Changing Materials?
Treat the existing measurements as a starting point only. Changes in board caliper, wrapping, insert material, or construction can affect fit and exterior size. Confirm the revised drawing and sample before approving production.
References
1. [Paperboard Packaging Council — “Pick Paperboard Like a Pro”]. Explains paperboard caliper and common thickness measurement units. [paperbox]
2. [THIMM — “FEFCO-ESBO Code”]. Provides guidance on corrugated packaging dimension order and separate body and lid heights. [thimm]
3. [FEFCO — “Testing Methods & Recommendations”]. Lists Recommendation 101 for determining internal dimensions of flap-type or one-piece corrugated cases. [fefco]
4. [UPS — “Shipping Dimensions and Weight”]. Explains package measurement, dimensional weight, and applicable measurement procedures. [ups]
5. [International Safe Transit Association — “Test Procedures”]. Describes test selection and the scope of parcel-delivery Procedure 3A. [ista]
6. [International Safe Transit Association — “Procedure 3A Overview”]. Outlines packaged-product testing scope and representative sample considerations. [ista]
 English
 Spanish
 French
 German
 Russian
 Japanese
 Portuguese
 Arabic